

eCommerce Store Widget
After Dropping the “Store” Widget:
Design and edit the interface however suits you, and when you’re finished, click “Publish.” As mentioned above, the way the store looks on your editing interface is not the way it will look to your website visitors. If you click “Preview” and then “View Live,” you can browse your store the way your customers will.
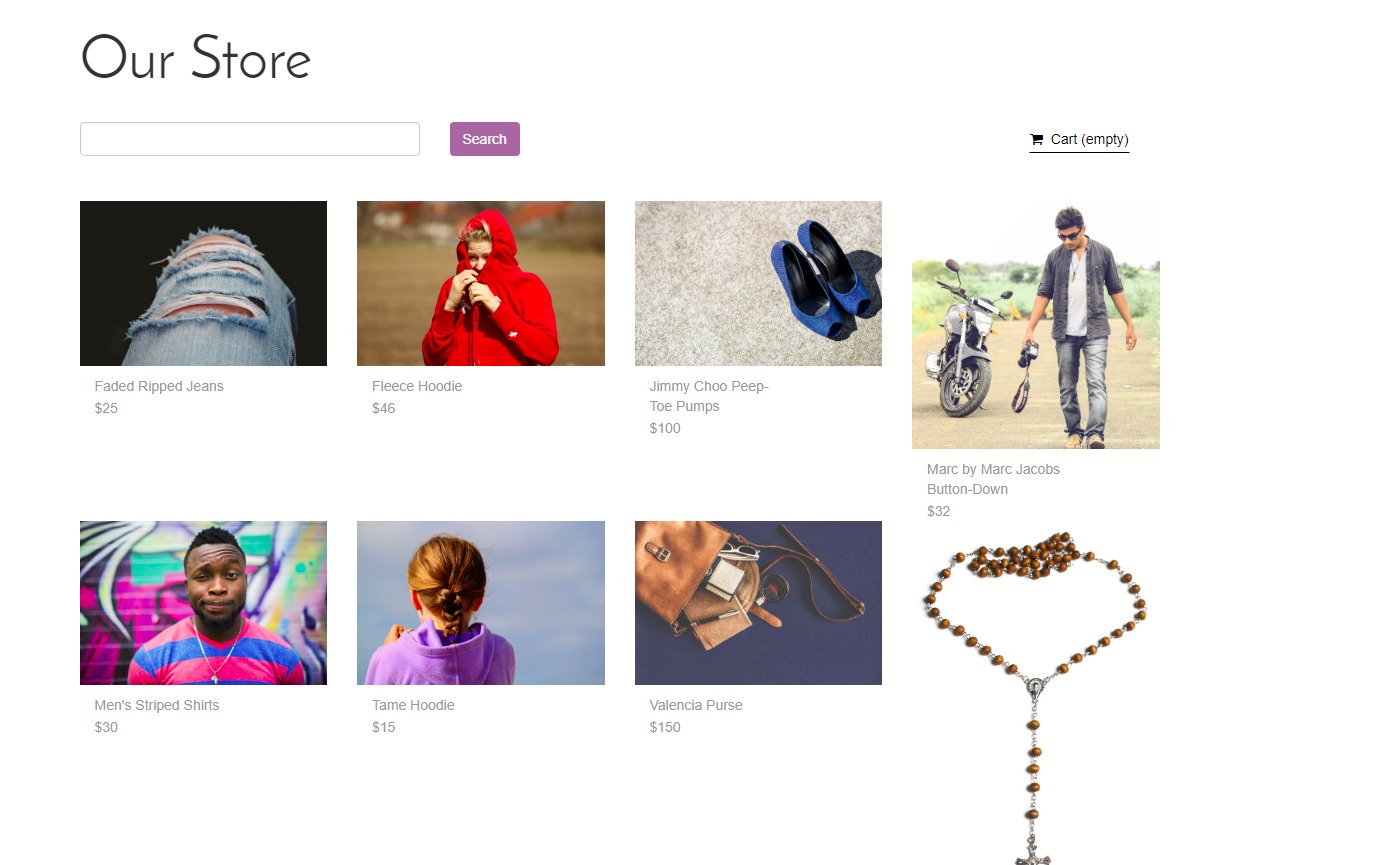
Note that a search form has automatically been created after you dropped the Store widget. This will allow your customers to search for any product in your store.
After dropping the Store widget, you may notice that the following pages have been created:
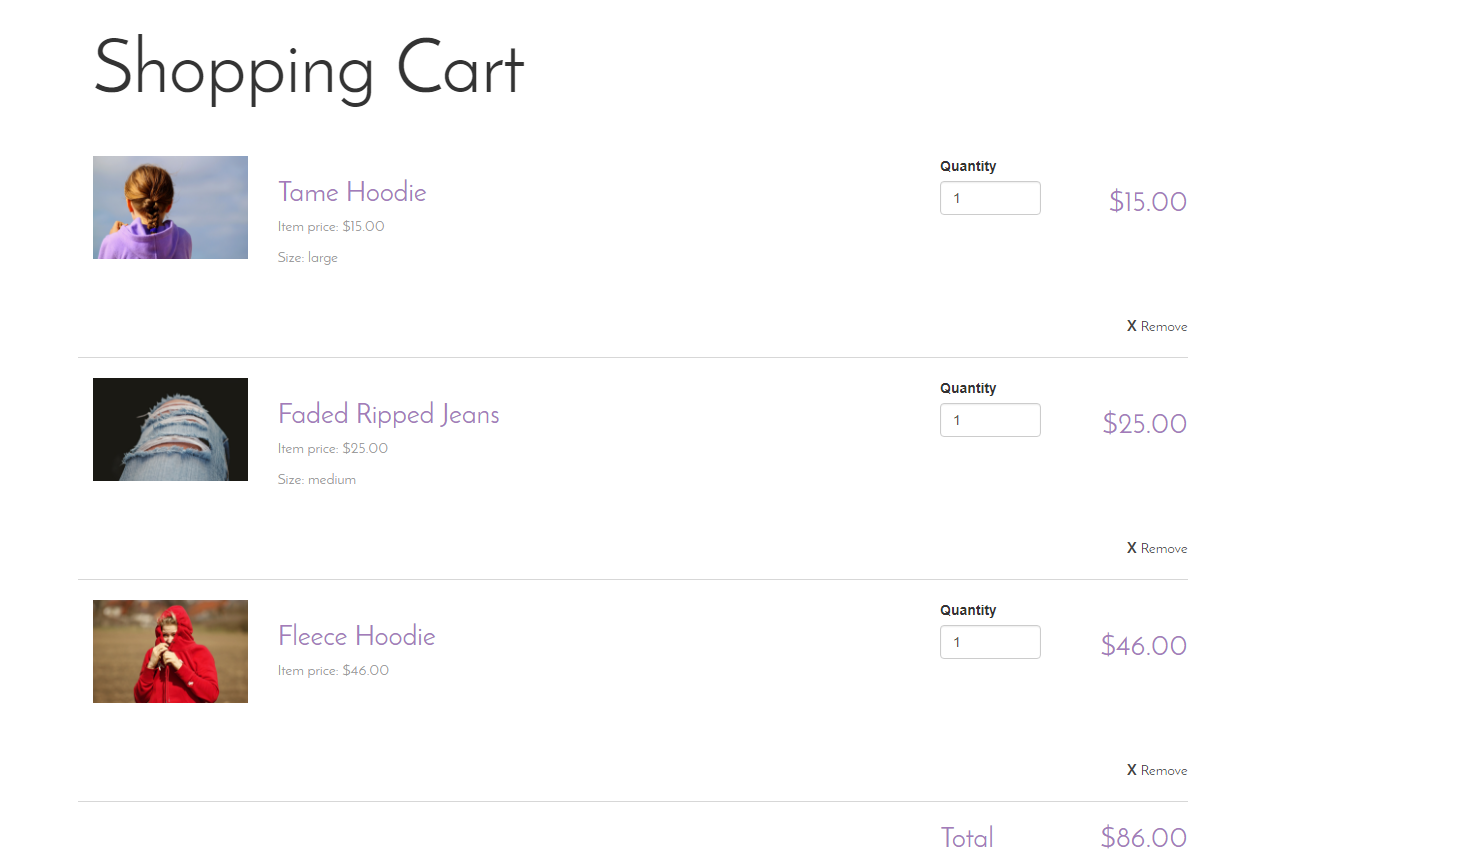
Cart: This is the page your customers will be taken to after clicking on the cart icon. It shows a summary of all of the items in the cart, with the option to change the quantity, remove an item, or proceed to checkout.
Product: This is the page your customers will be taken to after clicking on any product. Each product has its own page, showing its name, image, price, description, and any variants you set. The customer can choose the quantity he wants to buy and add it to his cart.

Once a product is added, it will appear under the cart icon to the right of the page, with the option to proceed to checkout.
Note: If you have chosen not to manage inventory in your eCommerce Admin, customers may simply click on the shopping cart underneath a product image in order to add it to the cart; they need not go into the Product page.
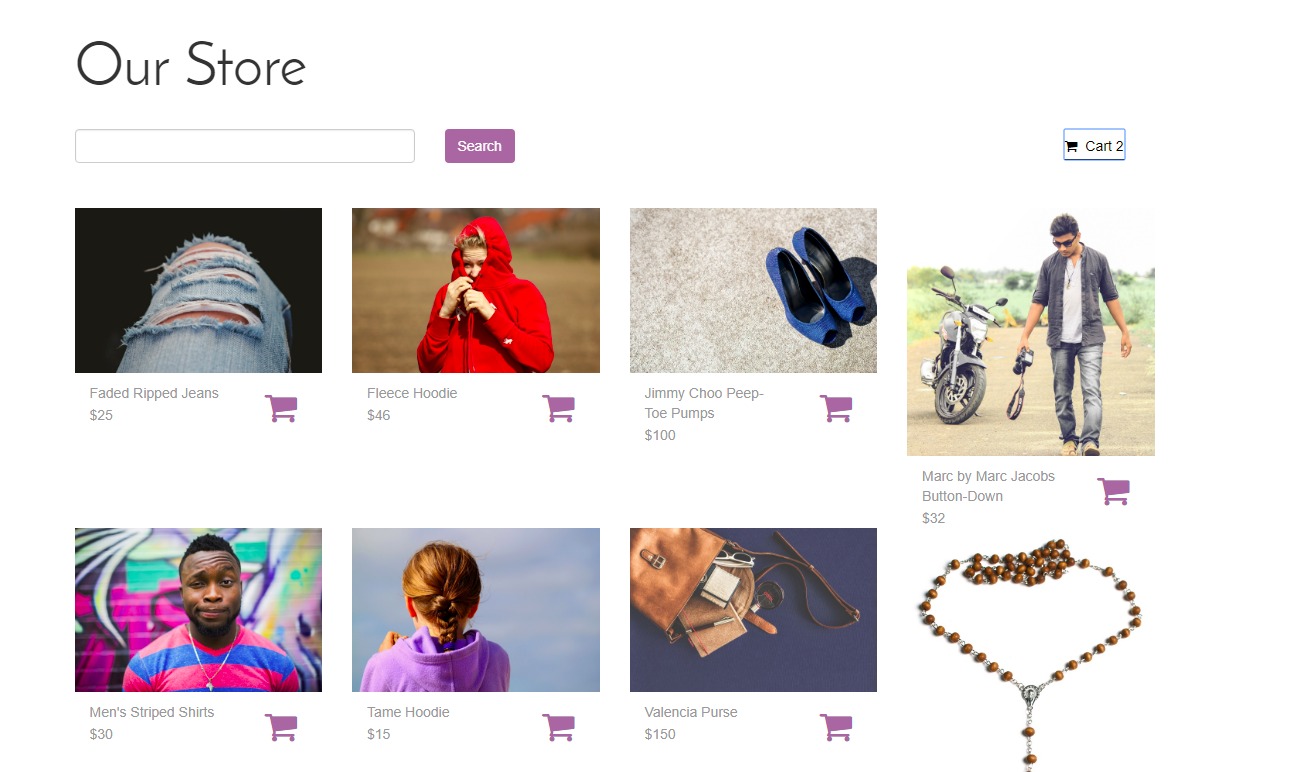
This option will not appear if you have selected to manage inventory (as there is more than one possible variation of a product), in which case customers will be taken to the Product page in order to add a product to the cart.
Checkout: Your customer will be taken to this page after clicking “Proceed to Checkout.” Here, he will fill out his shipping and billing information, at which point the shipping options that you previously defined in the eCommerce Settings will appear.
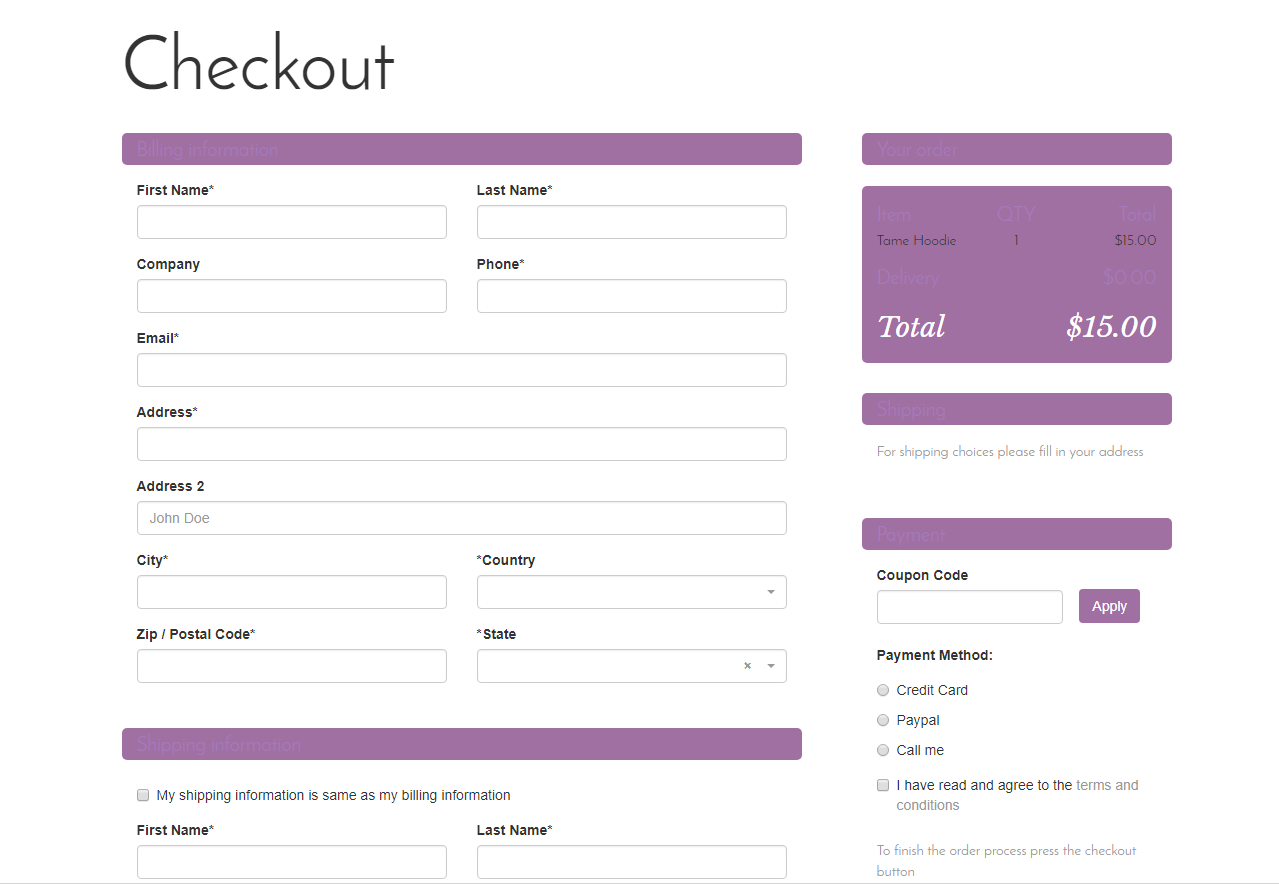
His order summary will be displayed, as well as the option to apply a coupon code and to choose a method of payment (PayPal, credit card, or paying over the phone). Once he agrees to the terms and condition, he can complete his order by clicking the “Place Order” button.
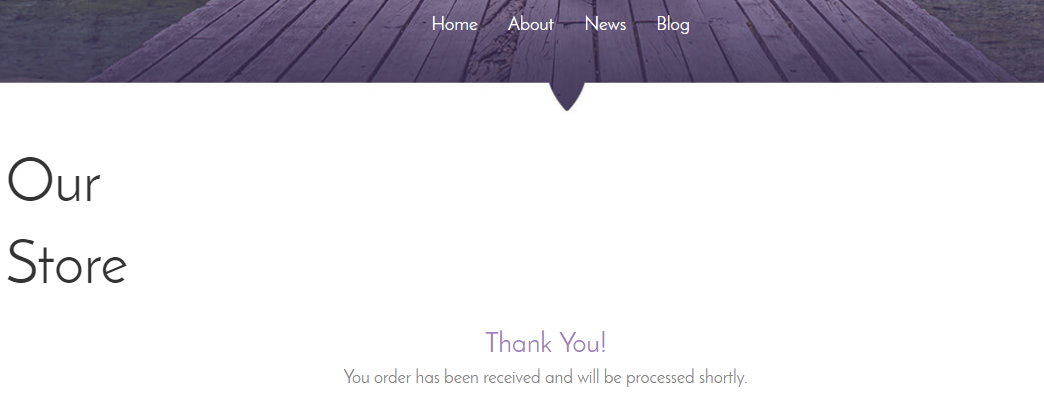
Success: Here, you can write any success message which your customers will see after payment is completed (or leave it as is).
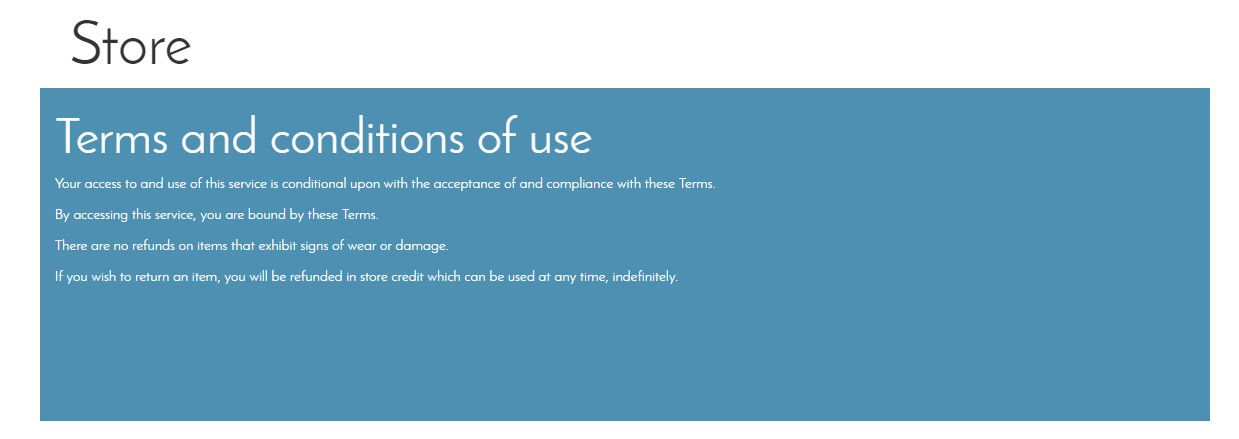
Terms: Update this page with whichever terms and conditions you please.
When your customers check out, they will see a checkbox stating “I have read the terms and conditions” with a link to this page.
Note that you may design and edit any of these pages as you wish. Don’t forget to press “Save” and “Publish” when you are finished, so that your changes may be viewed live.