

eCommerce Settings
From your upper Simbla toolbar, click the application icon and then select “eCommerce.” You are now redirected to your eCommerce admin panel, where you have control over all of your eCommerce settings and content.
1) Settings--These are one-time settings that you probably won’t have to edit after the initial setup, such as tax rules, shipping rules, and inventory details.
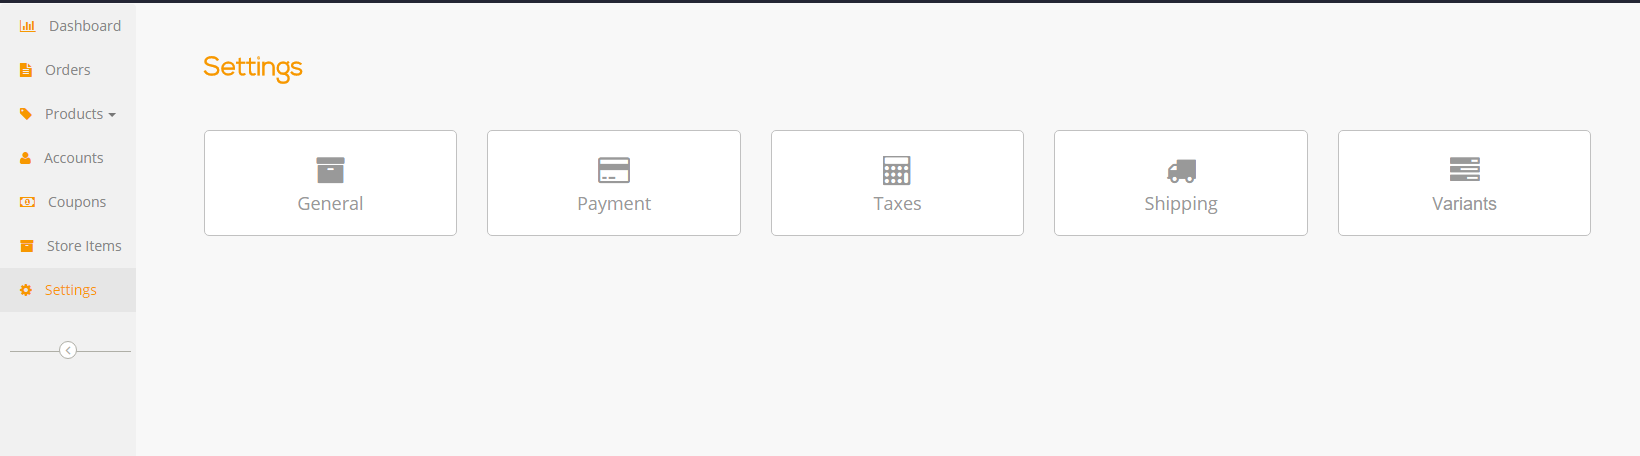
From your eCommerce admin, click “Settings” on the left.
General--Under “General Settings,” you can choose the currency which your customers will be using/in which you want to be paid, and decide where and whether to apply taxes directly to the store product prices, or have tax added to the shipping cost.
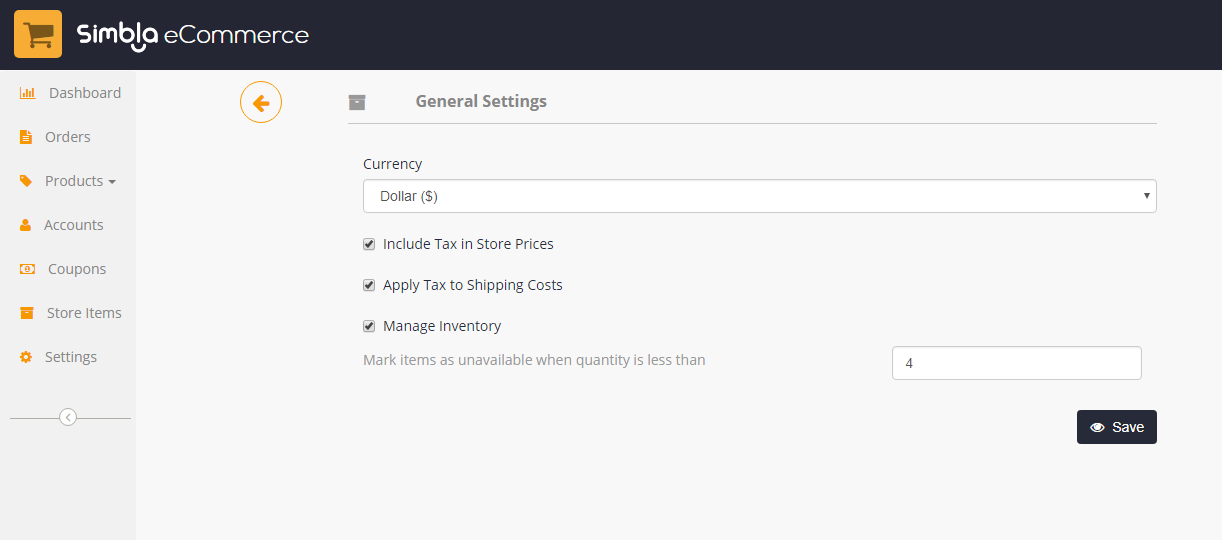
You can also choose to apply a rule that will automatically update when your inventory runs low.
You will notice an option to “Manage Inventory”. If you are selling a variety of similar products with differing attributes (such as the same shirt in different colors), tick this box. This will tell the system that you want to manage your inventory.
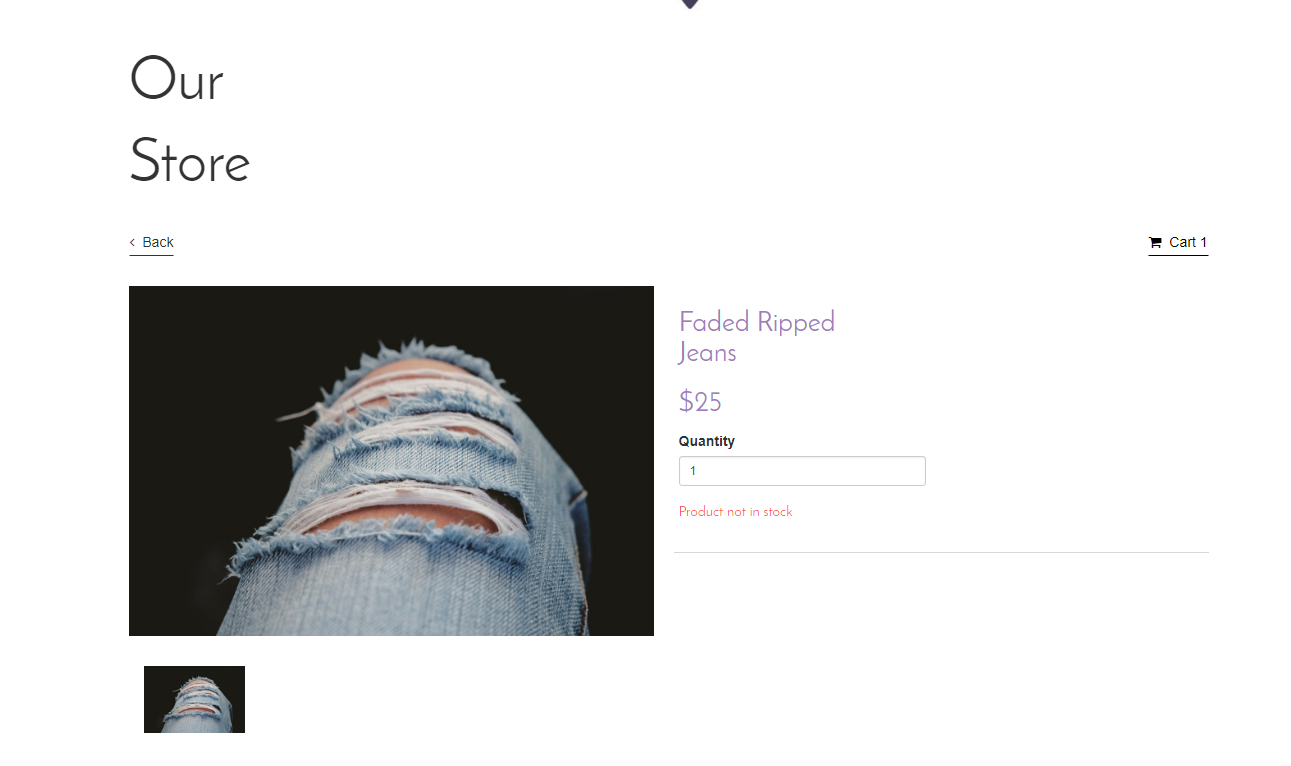
If you want items to appear as unavailable once you only have a certain amount left, write that amount under “Mark items as unavailable when quantity is less than.” When the item has reached the specified quantity, your customers will see this:
Later, you will set your inventory criteria under “Variants” and “Products”.
When you are finished, click “Save.”
Payment Settings--Time to get paid! If you haven’t opened a PayPal or 2Checkout account yet, now is the time to do so. (Look here for assistance with setting up a PayPal account, and here for assistance with setting up a 2Checkout account.)
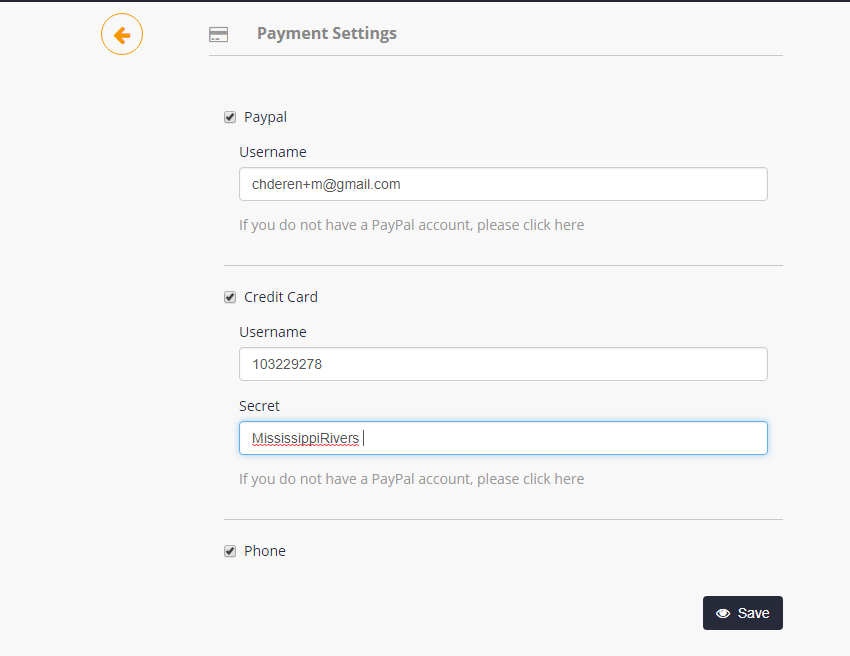
Once you have already opened those accounts, do the following:
PayPal: Insert your username (the email address with which you’ve registered to PayPal
Credit Card: Write your 2Checkout Username here and the Secret word you chose when setting up your account.
Phone: Add a phone number if you want your customers to pay over the phone instead of (or in addition to) the other payment options.
Taxes--Set up your tax rules according to the laws of your country of residence.
Select “Add New Rule” in the top right-hand corner.

Name-- The name of the tax law you want to apply to your merchandise
Type-- Select if the tax amount is a fixed price or a percentage of the cost of the products
Value-- The percentage number or fixed currency amount to be applied.
Country-- The country from which you are basing your tax rule.
State-- The state corresponding to the tax rule (if applicable).
Product Category-- You can apply the tax rule to all of your products, or choose a specific category of products to be taxed.
Check off “Active” for your tax rule to take effect. When you are finished setting the above criteria, click “Submit”.
Shipping--Here, you can add any shipping rules you wish. For example, if you want to give your customers the option of free shipping for orders over a certain amount of money, you can define that in the Shipping Rules.
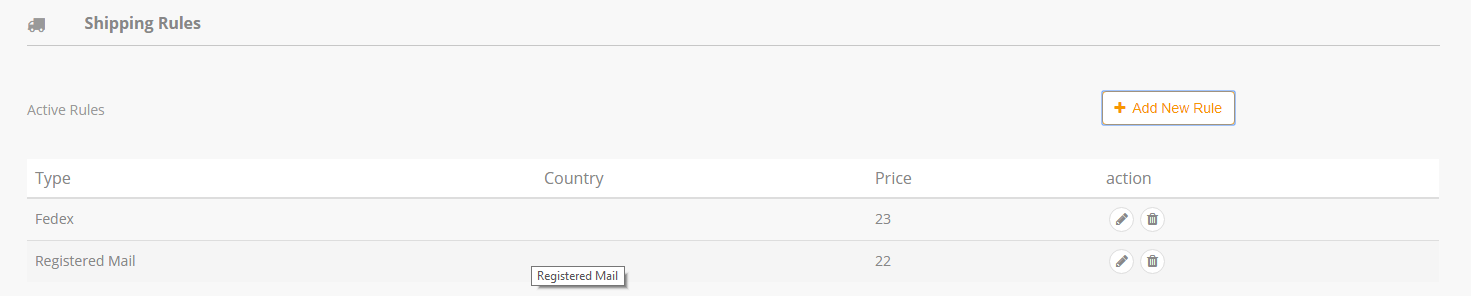
Click “Add New Rule.”
Type-- Name the rule (is it FedEx, Registered Mail, UPS, etc…)
Price-- The amount the shipping of this type will cost
Estimated Delivery Time-- A range of days it will take for the product to be delivered.
Free From Price-- Check this off if you want to offer free shipping for orders that cost over a certain amount of money. Write the currency amount in the box to the right.
Country-- The country to which you will ship for which the rule applies.
State-- The state to which you will ship (if relevant) for which the rule applies.
City-- The city to which you will ship for which the shipping rule applies.
Variants--This is for those who want to manage their inventory (make sure you’ve checked off “Manage Inventory” in General Settings first).

Set any characteristics that differentiate one product from another. Like most settings, you will only have to do this once (unless you decide to add another characteristic later).
Select “Add new row.”
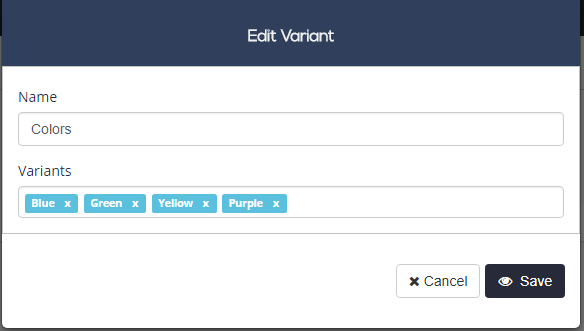
Under “Name,” write the name of a characteristic that you will want to use to distinguish between products. For example, if you are selling clothing, you may want to put “size” or “color”.
Then, under “Variants,” set all the different possible values of the characteristic you designated under “Name”. For example, if you chose “color” under name, here you can write “red, orange, green, blue,”. Make sure to separate each variant with a comma, including the last variant on the list.
Add a separate row for each characteristic you will want your products to have.