

Blog Guide
Below is a simple guide to setting up your blog, adding posts, and connecting the blog to your website and database. After you’ve added the “Blog” application to your website and chosen a database to connect it to (see how to do that here), follow these five steps to get your blog up and running:
1. Set up your Blog
Go to the application icon in the top left corner of your screen, and select “Blog” under “Application management.”
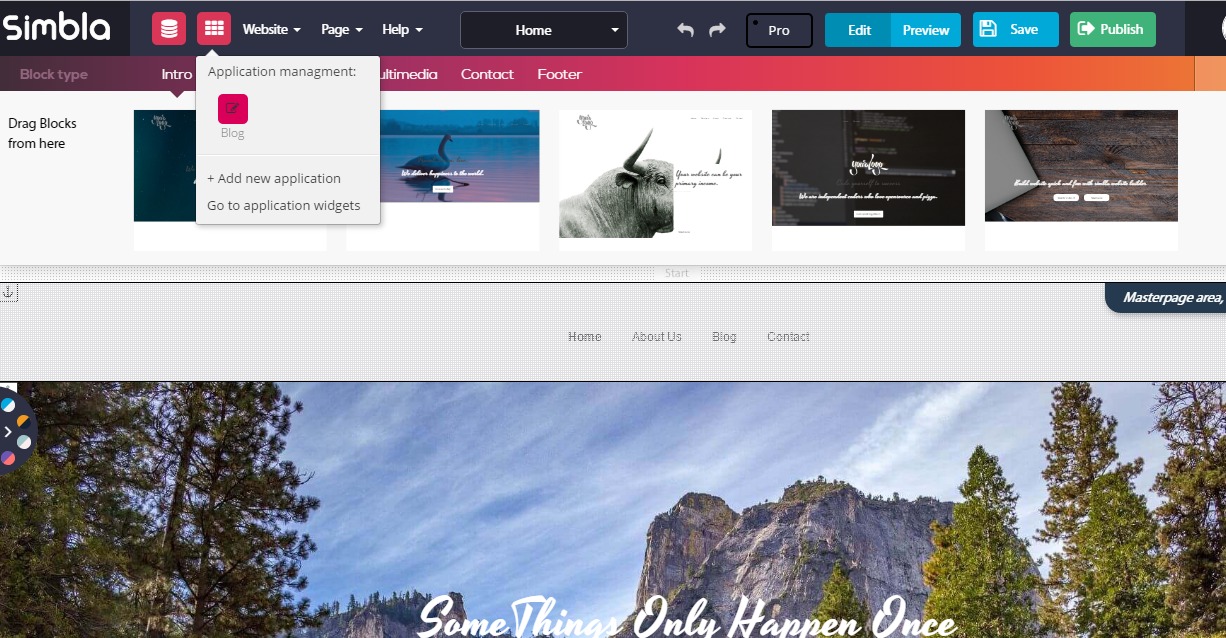
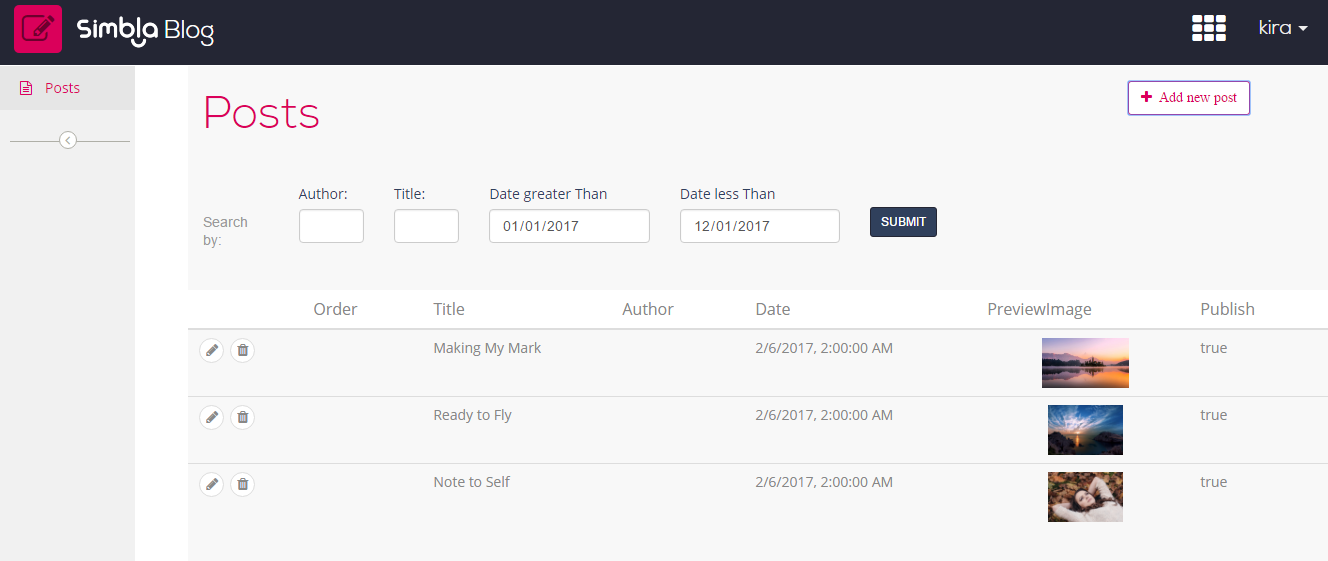
A new window will open that looks like this:
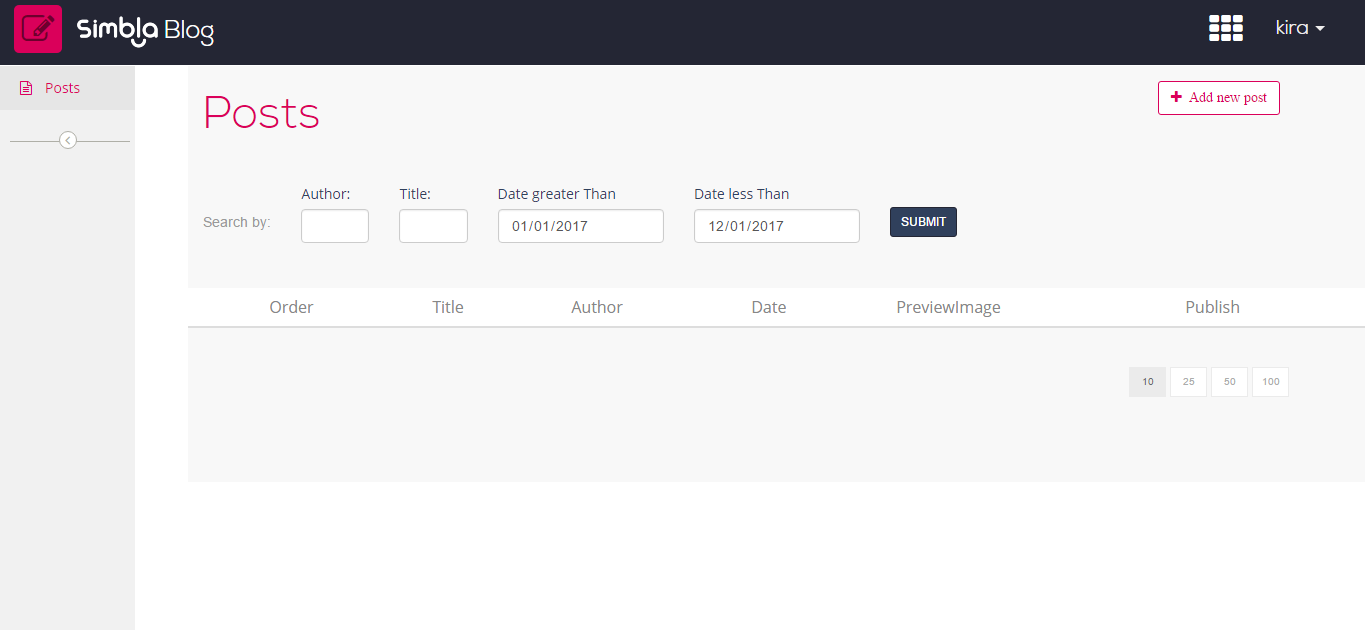
Here you can create new posts, or view and manage existing ones.
Click “+ Add New Post” in the top right hand of the page, which will take you to a new window.
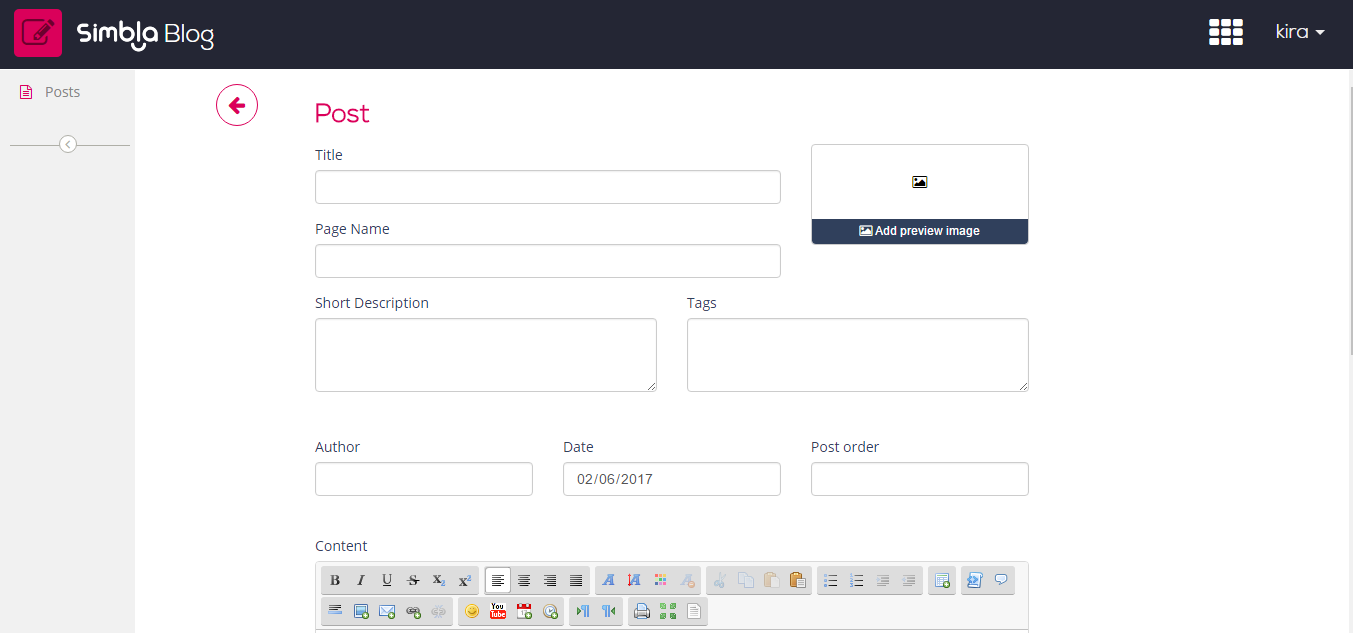
Title--The title of your blog post.
Page Name--The name you want added to the end of the post’s URL link. (This will be written for you automatically once you give your post a title, but you can change it if you prefer.)
Short Description--Write a little blurb about what your post entails.
To the right of your title, you can add an image that will appear as the thumbnail on your website next to the title of the post.
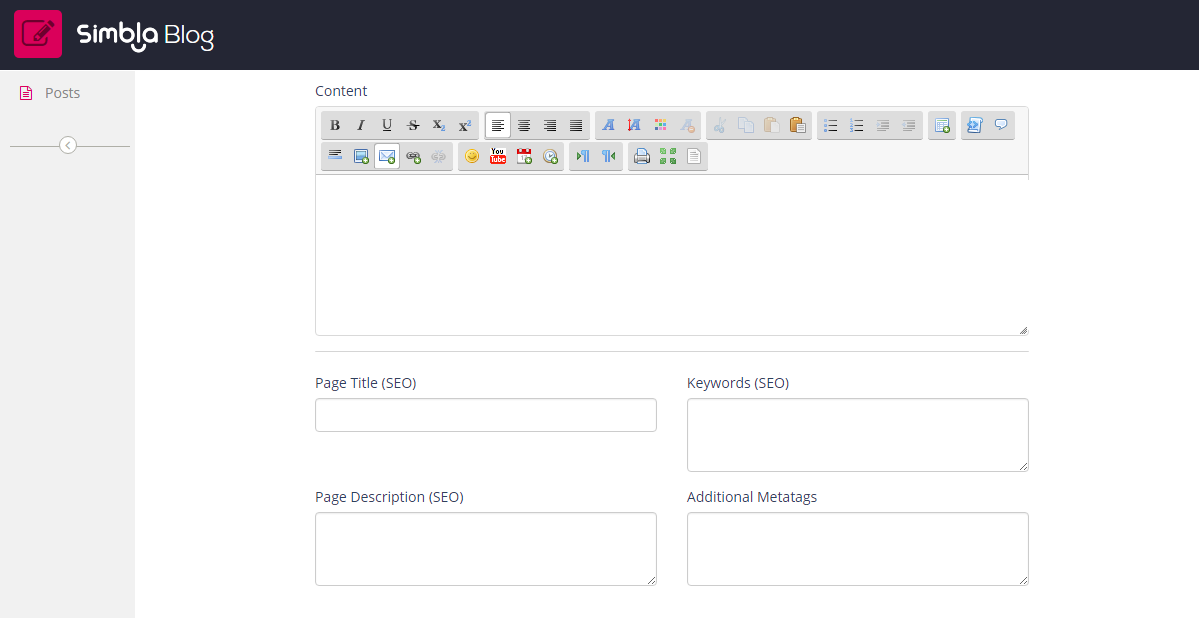
The post goes in the “Content” section of your post’s page, which lets you play with various font-editing options and insert pictures, links, videos, and more. You can always go back and edit your post later.
2. SEO Settings
In “Keywords (SEO)” you can fill in the keywords that you want associated with your post. Update the “Page Description” to include those phrases or keywords, and add other small, descriptive words about your content in “Additional Metatags (HTML only).”
3. Publish
Tick the publish box if you want your post to go live. If you do not, your post won’t be seen on your blog's page.
After you click the “Save” button, you will notice that a new row automatically appears on your blog post management page with your newest post.
At this point, you are ready to sync your blog with your website and database.
4. Connect your blog to your website
Go to your website and create a new page labeled “Blog.”
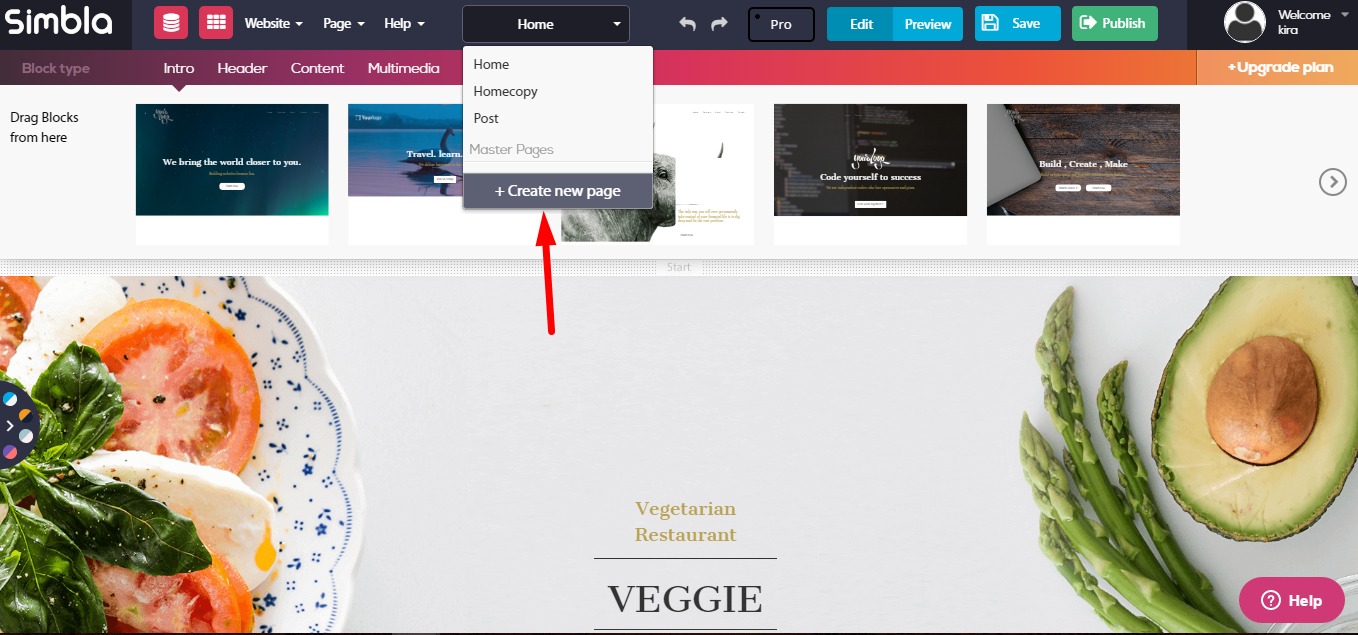
This page will serve as a kind of template for each of your individual blog posts--any features you add here will be duplicated on all of your blog pages. Once you design the page to your liking (you can add things like header, footer, image gallery, etc.), you’re ready to connect it to your blog.
Go into “Application Widgets” in Pro Mode, and drag the “Posts” widget to wherever you want your blog to be situated on your page.
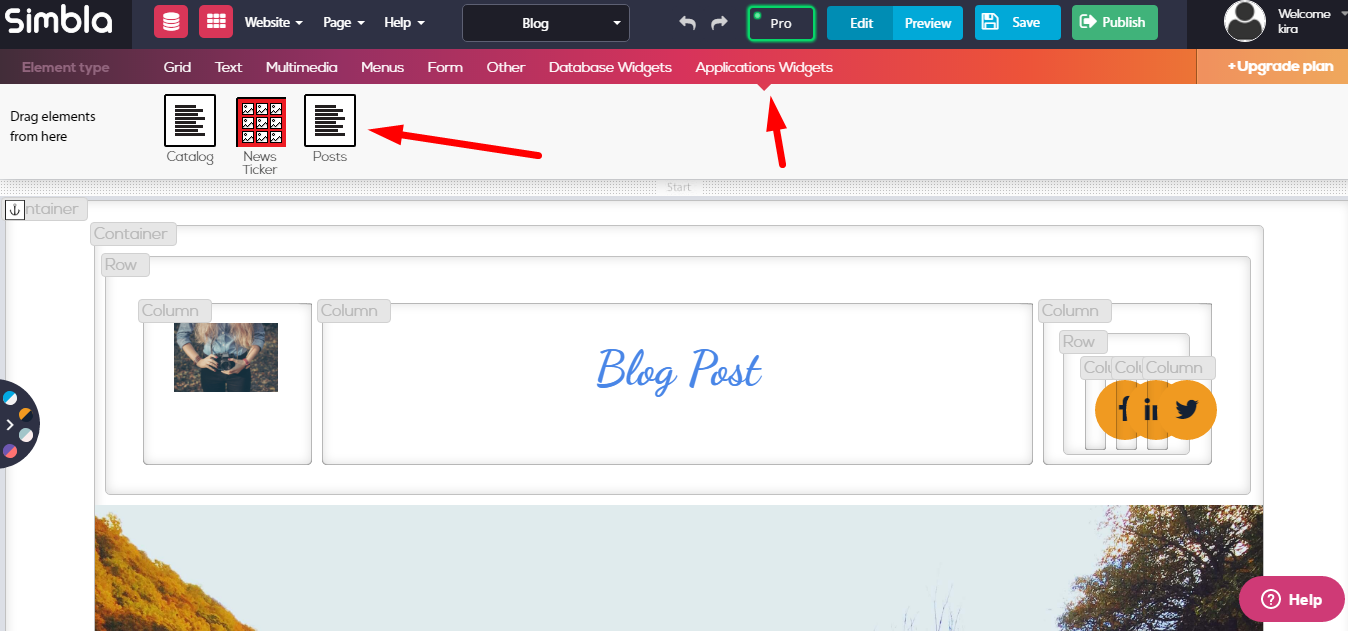
This will automatically create a new page in your website labeled “Post” (as well as a new table in your database called “Posts”).
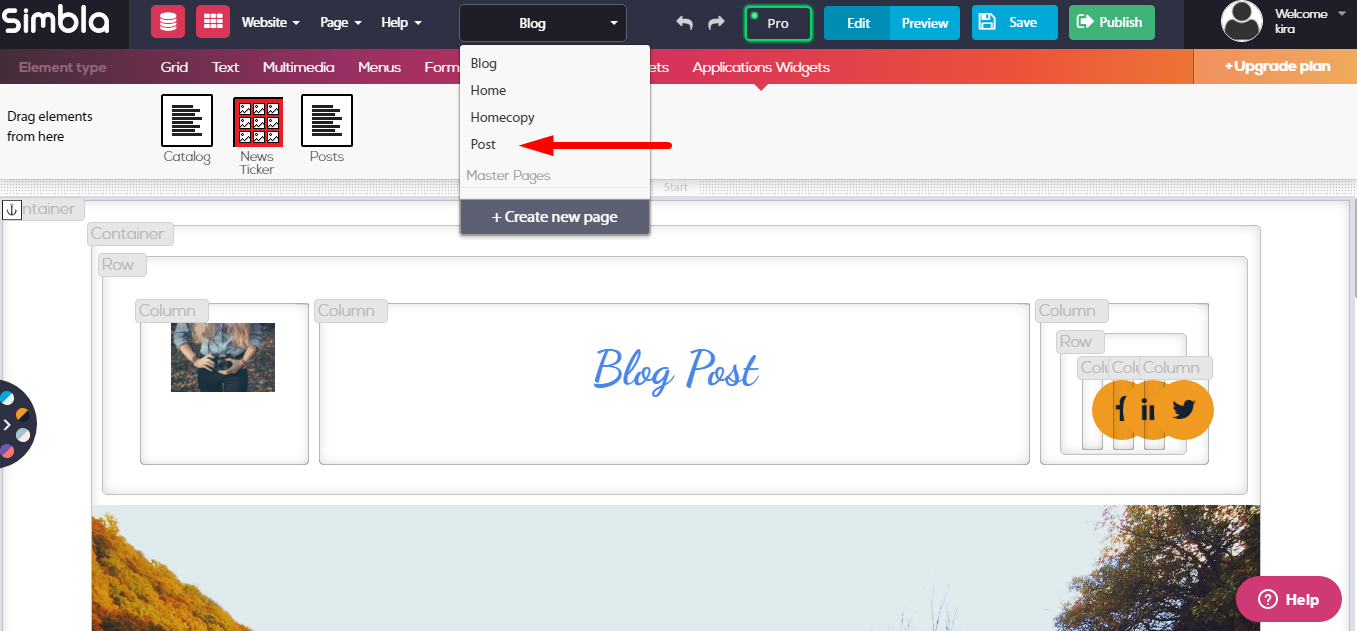
Once you’ve dropped the widget onto your Blog page, any further changes you make to the Blog page will no longer affect your individual blog posts.
Instead, your Post page will now function as the mothership of all of your blog posts; all edits you want to make to your posts should be done on the Post page (not your Blog page), and you will see them consequently appear on each of your blog pages.
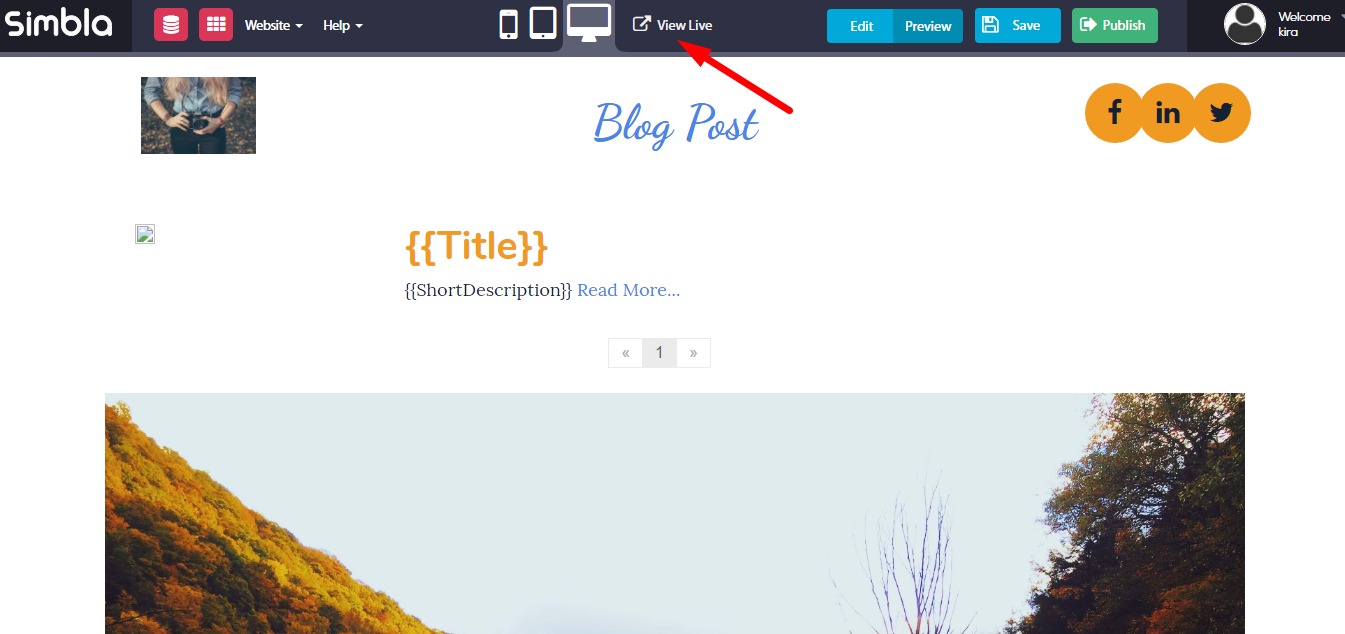
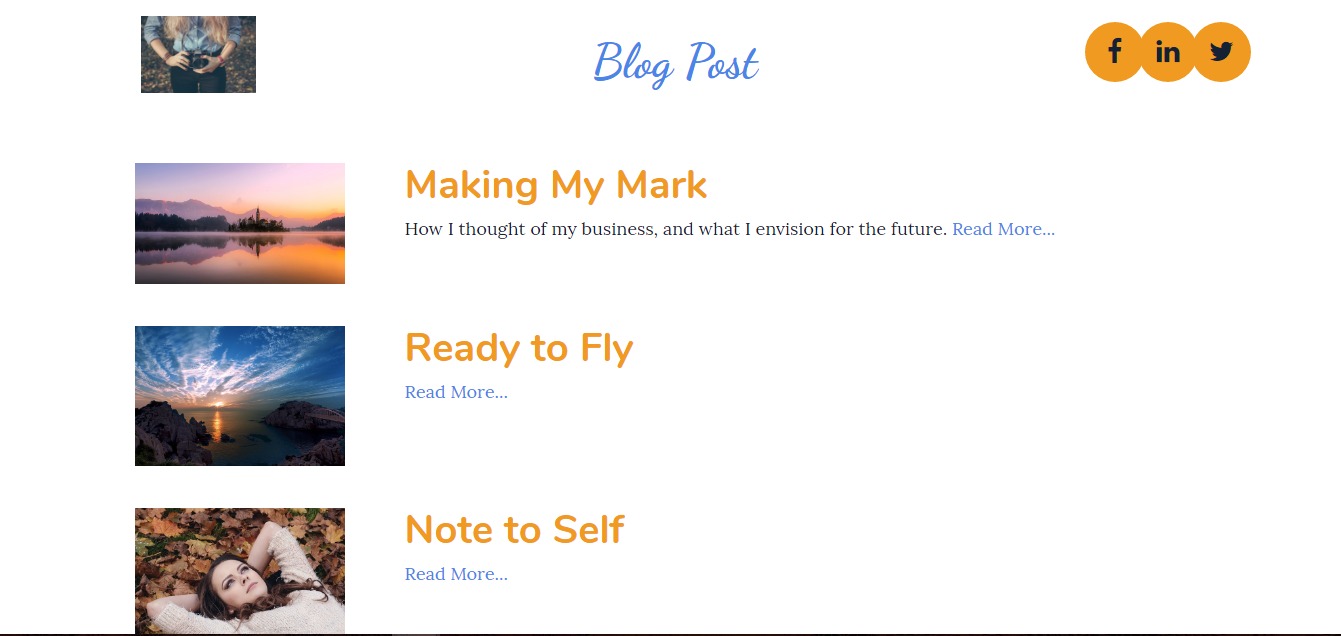
Note: You will not see your blog menu or posts on your page in “Edit’ or “Preview” mode, but don’t worry! When you publish your Blog page and click “View Live,” your blog should appear the way you set it up.
Remember, you can still use your Blog page to change any features that will appear on the overall blog itself, such as the layout, fonts, multimedia, etc.
Note: In order to make any edits or changes to the style, design, or database fields you want included in your individual blog post click here. If you wish to edit the layout of the blog click here.